
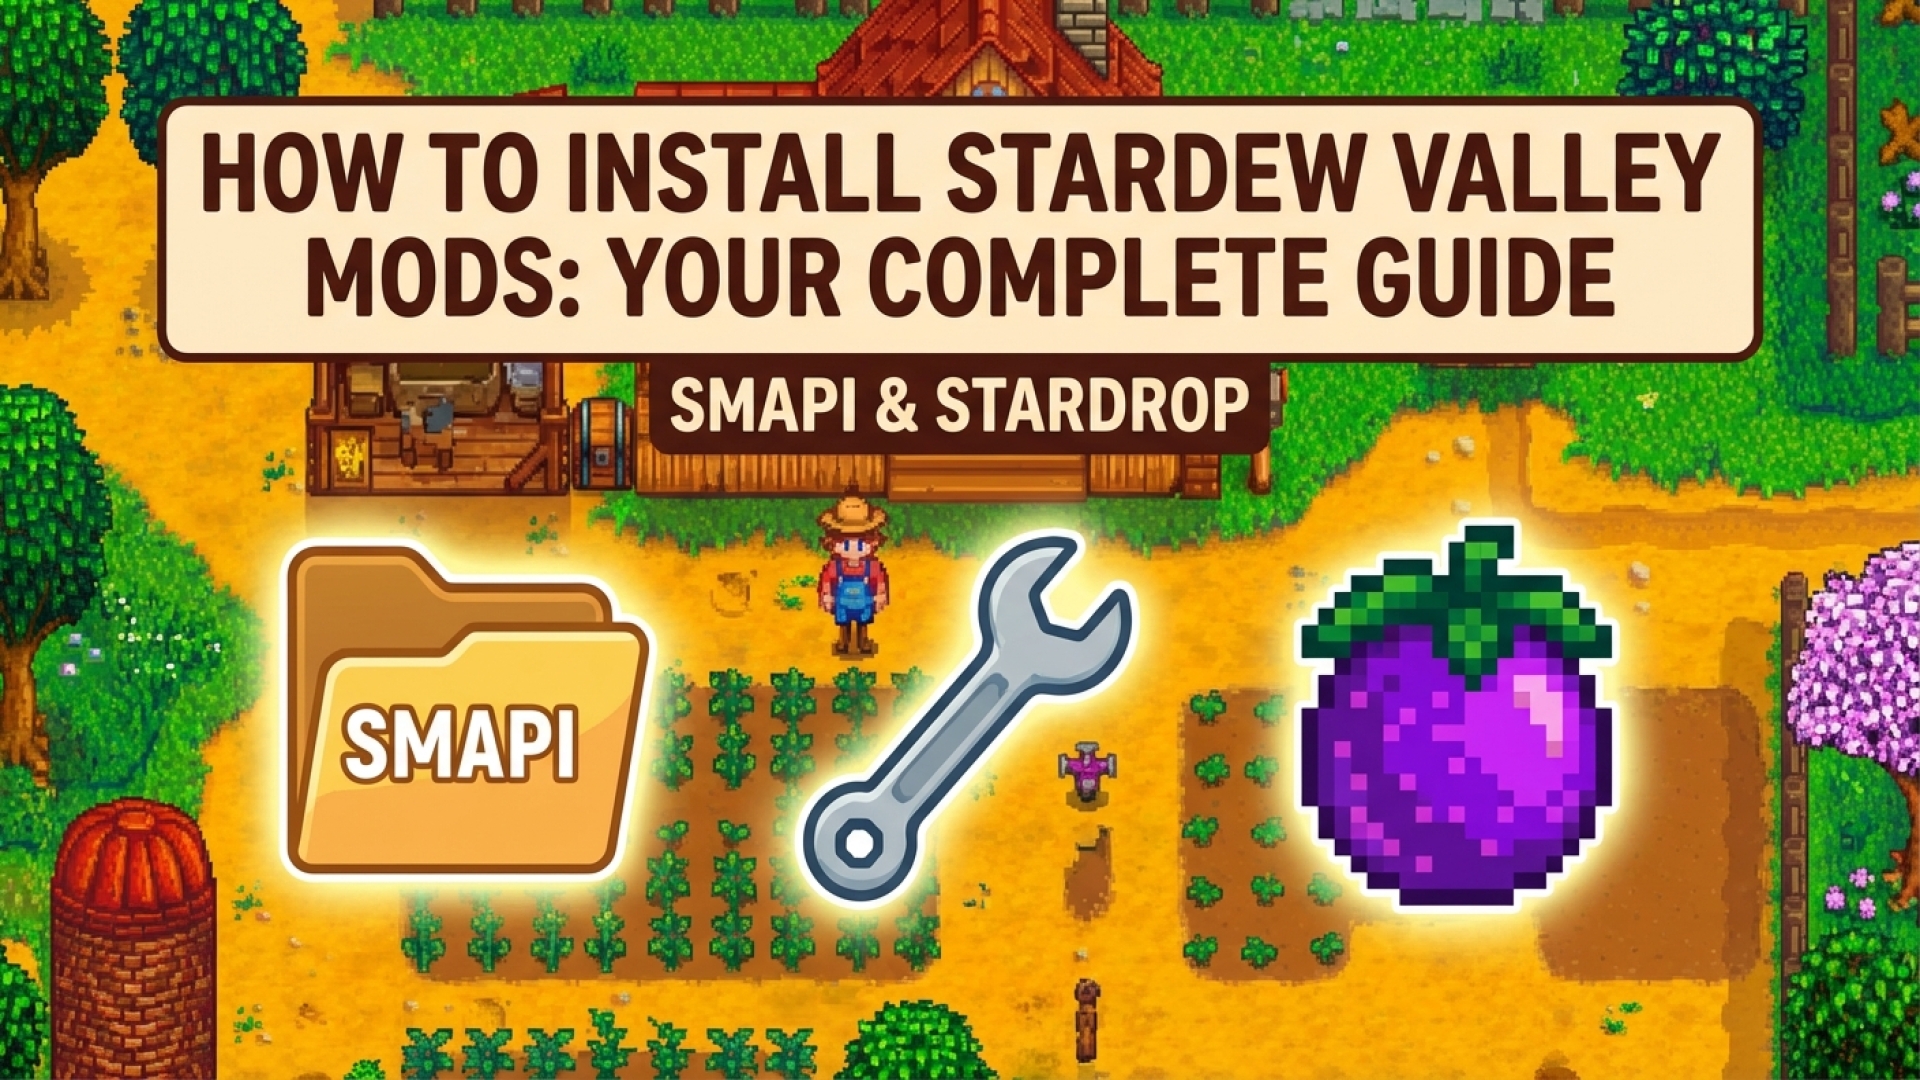
There is plenty to explore in the vanilla version of Pelican Town, but for those of us who live and breathe digital customization, the real magic begins with Stardew Valley mods. Whether you are looking to expand the story or simply optimize your farm’s aesthetic, the community support for this title is staggering. As a software engineer and a long-time player, I’ve found that while modding can seem intimidating at first, it is a rewarding way to enhance your gameplay experience.
This guide, curated for the Digital Tech Explorer community, will walk you through the essential frameworks, tools, and managers needed to transform your game safely and efficiently. We will focus on SMAPI, the Stardrop mod manager, and the foundational scripts that keep everything running smoothly.
Essential Tools for Modding Stardew Valley
Before moving files around, you need the right toolkit. While you can technically mod the game manually, using a framework and a manager ensures stability and makes troubleshooting much simpler. Here is a quick breakdown of the core components we recommend:
| Tool | Purpose | Necessity |
|---|---|---|
| SMAPI | The core modding API that launches the game with mod support. | Required |
| Stardrop | A clean, user-friendly mod manager for organizing and toggling mods. | Recommended |
| Content Patcher | A framework that allows mods to change game assets without replacing core files. | Highly Recommended |
Where to Find Safe Mods
In the interest of transparency and security, we always recommend downloading your files from reputable hubs. Our team at Digital Tech Explorer frequently utilizes these sources for real-world testing:
- Nexus Mods: The largest repository for Stardew content.
- Curseforge: A reliable alternative with a streamlined interface.
How to Locate Your Stardew Valley Mod Folder
Understanding your file directory is step one for any digital innovator. Your Stardew Valley mod folder is located within your main game directory. To ensure SMAPI and Stardrop function correctly, you must be able to navigate here quickly.
Once you have installed SMAPI (detailed below), a folder named “Mods” will appear. Every mod you download must be placed in its own sub-folder within this directory. The file path typically looks like this: /Stardew Valley/Mods/[Mod Name]. While manual organization is possible, I recommend using Stardrop to handle the heavy lifting and keep your installation tidy.
Step-by-Step: Installing SMAPI (Stardew Modding API)
SMAPI is the engine that drives your modded experience. Without it, your mods simply won’t load. Follow these steps to get it running on your system:
Initial Setup
- Launch Stardew Valley at least once in its “vanilla” (unmodded) state to ensure all local files are initialized.
- Download the latest version of SMAPI and extract the .zip file to a temporary folder.
- Run the Install on Windows.bat (or the Linux/Mac equivalent).
- Follow the on-screen console instructions. The installer will automatically detect your game directory.
Configuring Your Storefront
To ensure Steam or GOG tracks your playtime and achievements while using mods, you must point the launcher to the SMAPI executable.
For Steam Users:
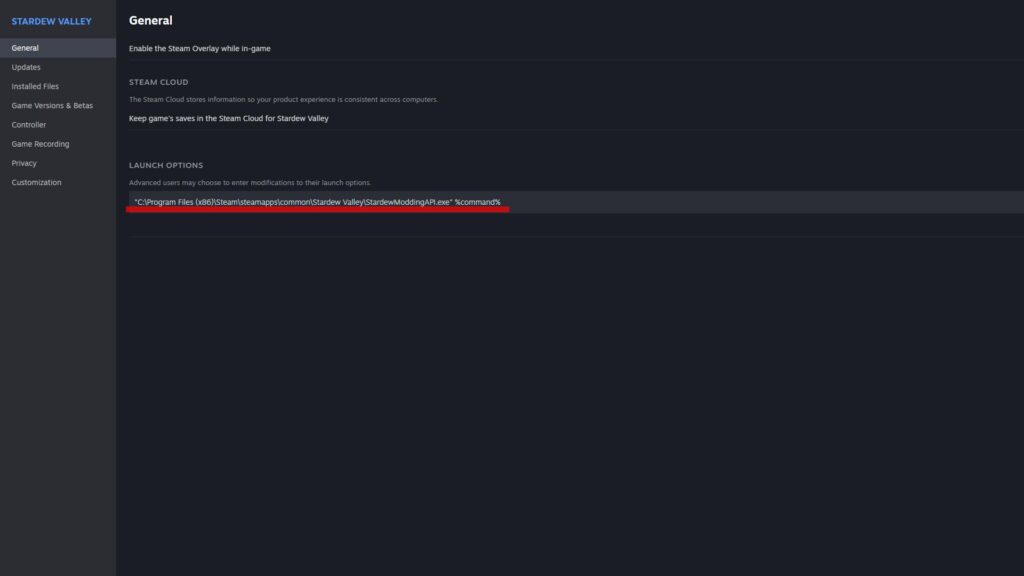
- Right-click Stardew Valley in your Steam Library and select Properties.
- In the General tab, find the Launch Options field.
- Paste the path provided by the SMAPI installer, which usually looks like:
"C:\Program Files (x86)\Steam\steamapps\common\Stardew Valley\StardewModdingAPI.exe" %command%
For GOG Users:
- Right-click the game in your GOG library and select Manage Installation > Configure.
- Under the Features tab, enable Custom Executables/Arguments.
- Click Add Another Executable and select
StardewModdingAPI.exefrom your game folder. - Check the box to make this the Default Executable.
Streamlining with the Stardrop Mod Manager
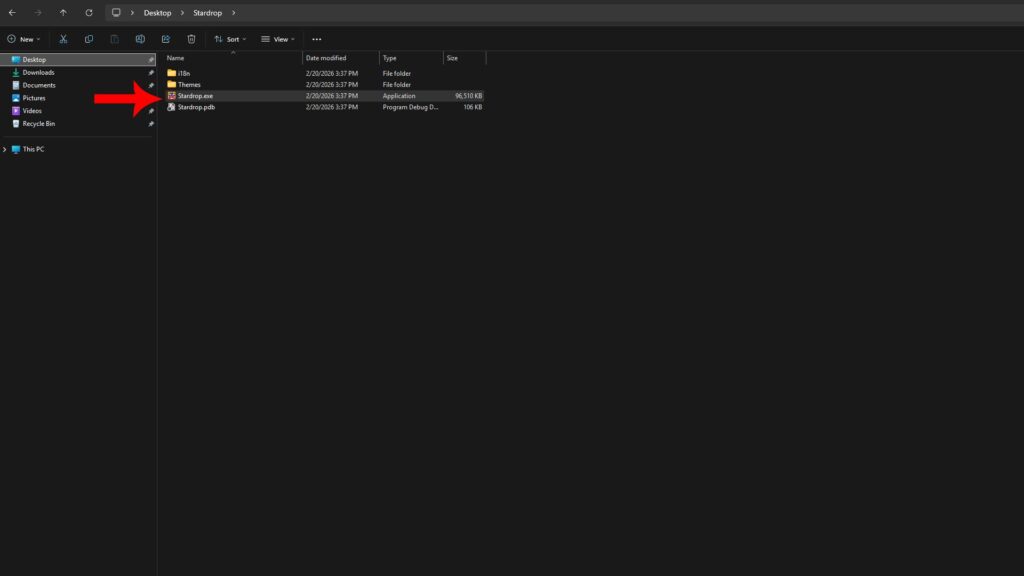
At Digital Tech Explorer, we value efficiency. Stardrop allows you to enable or disable mods with a single click, which is vital for troubleshooting conflicts. Extract the Stardrop folder to your preferred location (such as Documents) and launch Stardrop.exe.
Configuration and Use
Upon your first launch, Stardrop will ask to associate with the “NXM protocol.” Choosing Yes allows you to click “Vortex/Mod Manager Download” on Nexus Mods to send files directly to Stardrop.
To finalize the setup, go to View > Settings and verify that the paths for SMAPI and your Mods folder are correct. You can now drag and drop zipped mod files directly into the Stardrop interface. Remember to click Save Configs before launching the game.
Frameworks: Content Patcher vs. Alternative Textures
Most visual mods require a framework to function. While they may seem similar, they serve different purposes in your digital toolkit.
| Feature | Content Patcher (CP) | Alternative Textures (AT) |
|---|---|---|
| Primary Use | Global asset replacement (portraits, buildings). | In-game variety (changing individual items). |
| Method | Loads automatically based on config files. | Uses in-game tools (Paint Bucket/Scissors). |
| Flexibility | Only one CP mod per asset at a time. | Allows multiple textures for the same item. |
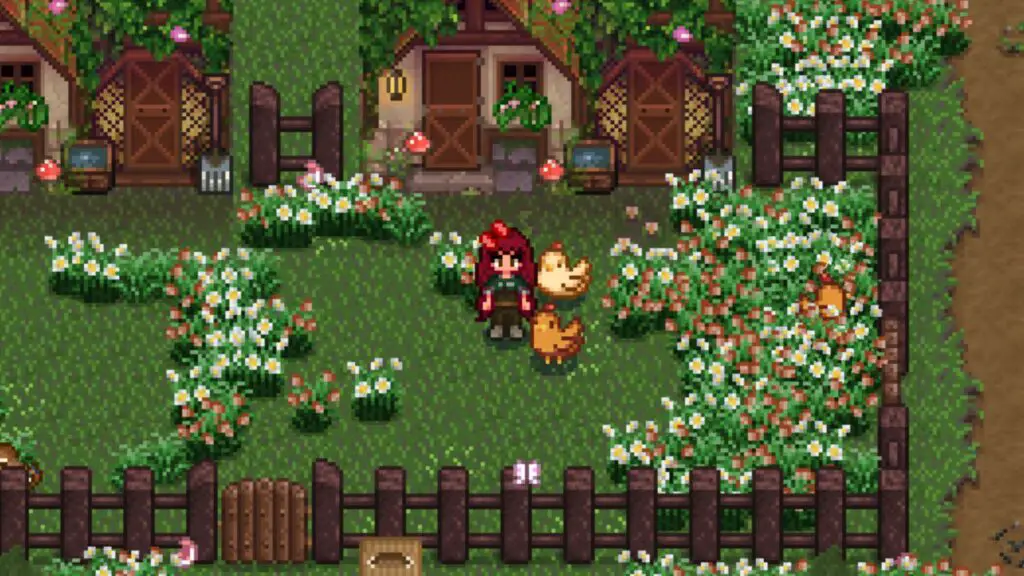
I recommend installing Content Patcher as your baseline. It is the gold standard for modding Stardew Valley and is required by a vast majority of the community’s most popular creations. Alternative Textures is excellent for those who want granular control over their farm’s aesthetic, allowing you to have three different types of fences or chickens simultaneously.
Modding is a journey of trial and error, but with these tools, you are well on your way to building your ultimate version of the Valley. For more deep dives into software solutions and digital trends, stay tuned to Digital Tech Explorer.