At Digital Tech Explorer, we love diving deep into the mechanics of epic RPGs to help you navigate complex puzzles and technical hurdles. Shortly after arriving at Scholastone in Crimson Desert, you’ll encounter Octavius, a giant scholar whose ambition involves opening a portal to the abyss. This quest, titled Gate to the Other World, is a multi-stage technical puzzle that mirrors the kiln repair tasks found earlier in Chapter 4.
I’m TechTalesLeo, and I’ve broken down the mechanics of this experiment to ensure you can bypass the technical glitches and defeat the energy anomalies waiting on the other side.
Octavius prepares his ambitious experiment at Scholastone.
Step 1: Activate the Underground Lock Device
Your first objective is located beneath the courtyard. To reach it, drop down from the edge and glide into the sub-floor area. You will find a lock device consisting of nine tiles. To initialize the system, you must toggle these tiles until the entire grid is illuminated.
While several combinations may work, the most efficient sequence to solve the puzzle is detailed in the table below:
Step
Tile Position
1
Center Tile (Middle Row)
2
Top Left Tile
3
Bottom Right Tile
4
Top Right Tile
5
Bottom Left Tile
Optimal tile activation sequence for the lock device.
Once the tiles are lit, interact with the main switch to power the primary circuit.
Step 2: Powering the Device with Batteries
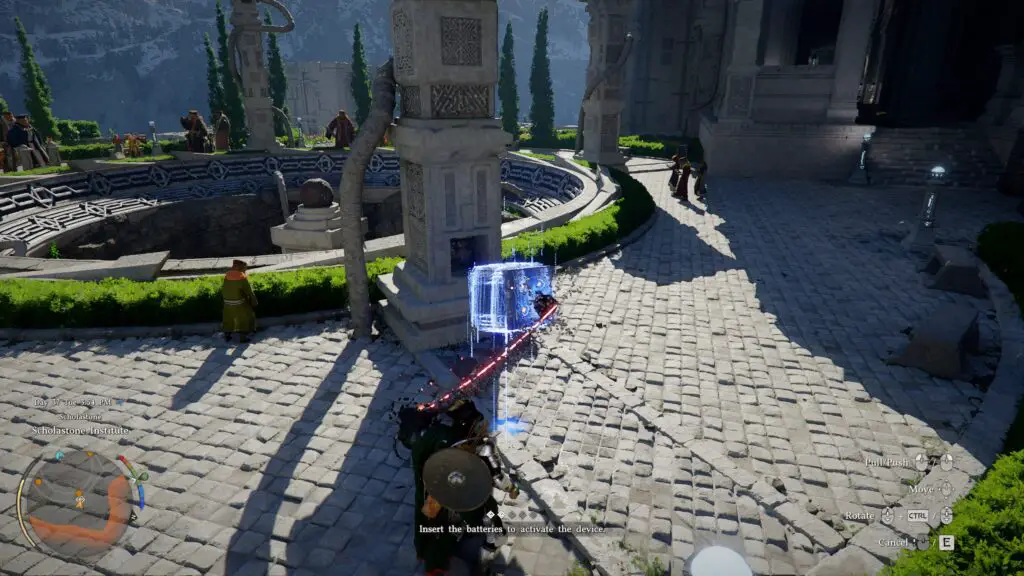
With the underground locks engaged, return to the main courtyard via the staircase on the left side of the pillared area. You will find four sparking blue batteries scattered nearby. To activate the portal apparatus, you must use Axiom Force to levitate each battery into alignment with its corresponding slot.
Once positioned, use Force Palm to strike the battery, locking it firmly into the slot. After securing all four units, Octavius will begin the final phase of the experiment.
Align the blue batteries and use Force Palm to seat them into the slots.
Step 3: Defeating the Tenebrum Boss
As often happens with experimental tech, the portal becomes unstable. When prompted to “remove the unstable core,” grab the glowing energy mass at the center of the portal, hold the control button, and pull it away to initiate the confrontation with Tenebrum.
Tenebrum is a high-energy anomaly that requires a specific strategy to dismantle. Following a brief tutorial on using Blinding Flash to expose vulnerabilities, follow these tactical steps:
Aerial Evasion: Stay airborne. Fly while targeting the entity to avoid the black tendrils emerging from the ground.
Wait for the Charge: Observe Tenebrum as it moves to the center of the arena to charge a massive shockwave attack.
Counter-Strike: While it is charging mid-air, use Force Palm to deal significant damage.
Repeat this sequence three times to dissipate the energy and successfully conclude the quest.
Continue your journey through the world of Crimson Desert.
More Crimson Desert Technical Guides
Stay ahead of the curve with our latest walkthroughs and system analyses:
At Digital Tech Explorer, we focus on thorough research and real-world testing. Some links on our site are affiliate links, which help support our deep-dive content at no extra cost to you.