
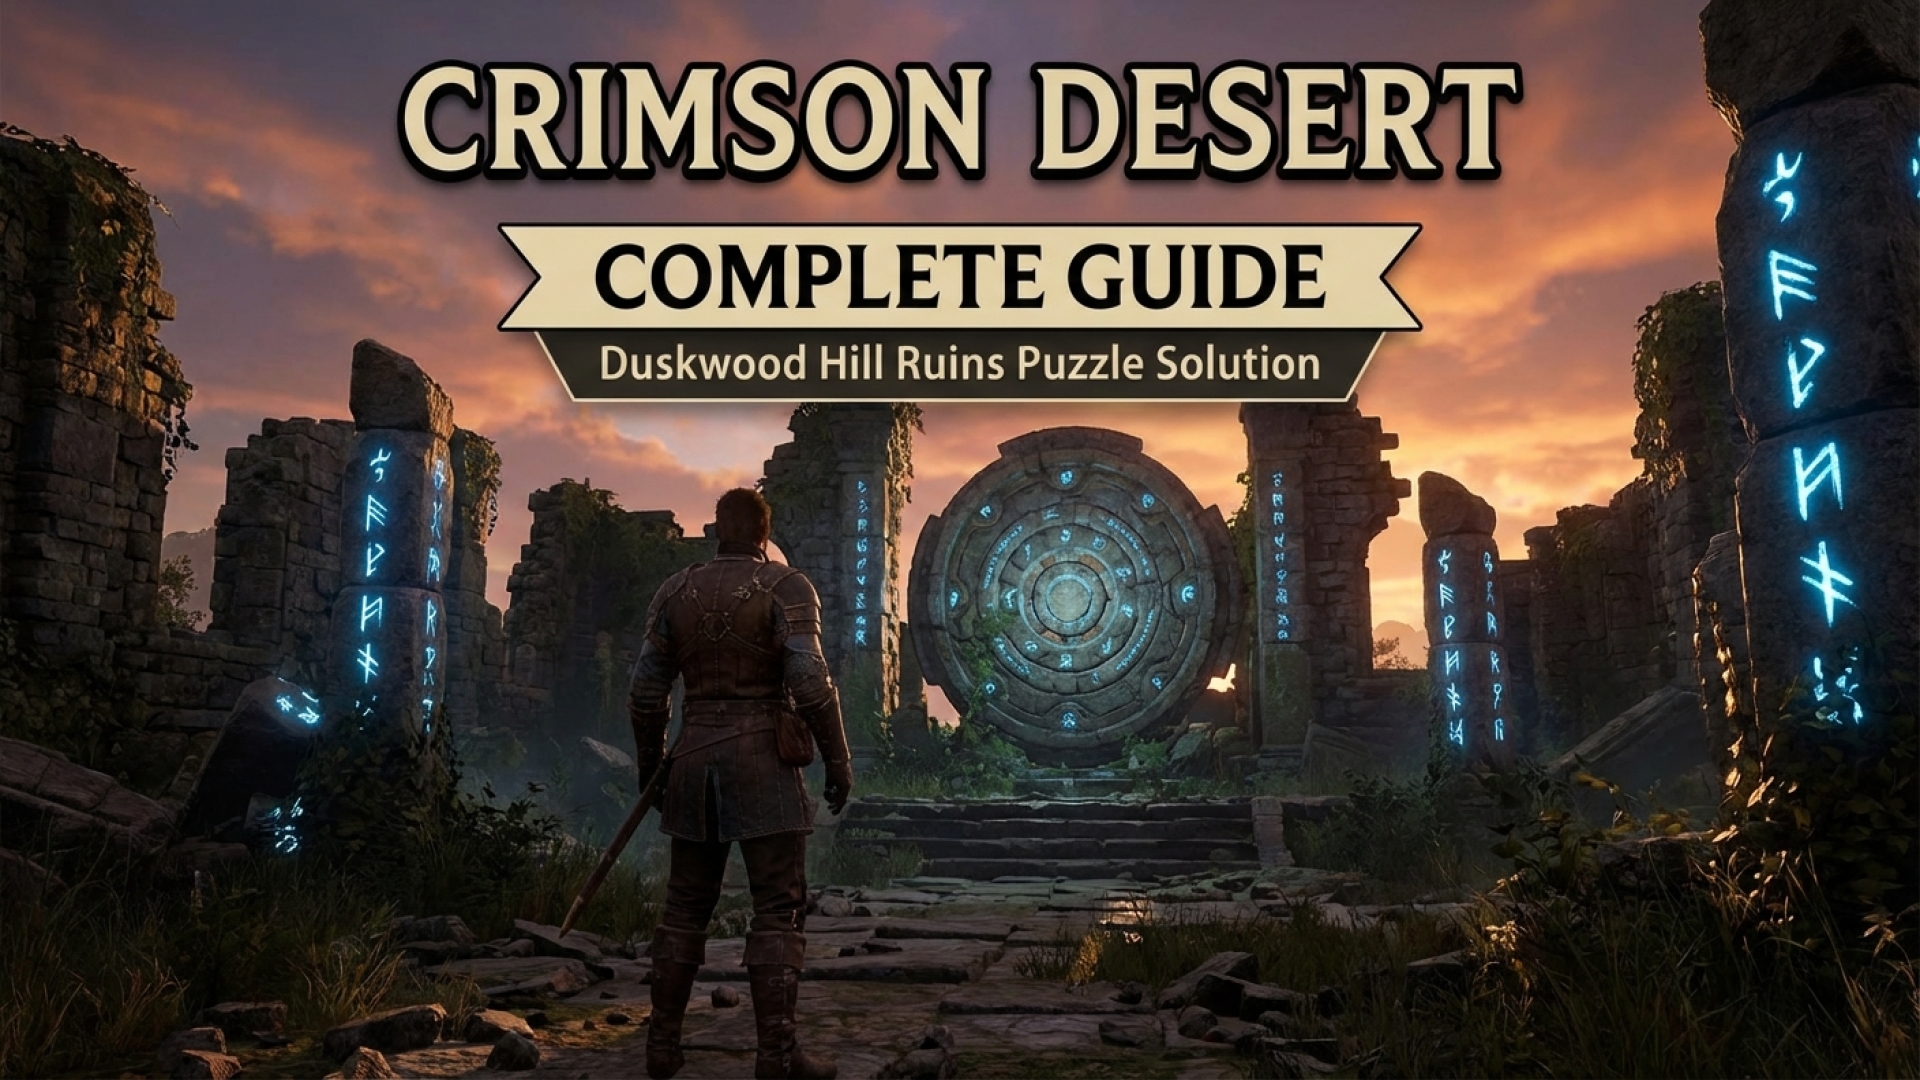
The Duskwood Hill Ruins puzzle stands out as one of the most intricate Mysterious Energy trials currently found in Crimson Desert. Located within the northern reaches of the Witchwoods, this environmental challenge requires a mix of precision and patience. While the mechanics can feel cumbersome at first, understanding the internal logic of the ruins makes the process far more manageable for players looking to optimize their character builds.
At Digital Tech Explorer, we specialize in breaking down complex technical hurdles—whether they are in software or high-fidelity gaming. Below is the definitive guide by TechTalesLeo to solving the Duskwood puzzle without the frustration of trial and error.
Preparing the Puzzle Site
Upon arriving at the Duskwood Hill Ruins, you will find the central mechanisms obstructed by thick vines. Before you can interact with the pillars, you must clear the area. Use the nearby braziers to ignite an arrow or trigger a Blinding Flash to burn away the overgrowth. If you have already experimented with the dial and the pillars are out of alignment, it is often more efficient to reload a previous save to reset the mechanism to its default state.
The Mechanics: Understanding the Dial
Your objective is to align all five pillars to a uniform height. The leftmost pillar (Pillar 1) is fixed and serves as your visual guide. When a pillar reaches the correct height, it will emit a yellow glow. Once the entire set is synchronized, they will glow blue, signaling completion.
To manipulate the pillars, you must perform a stab attack to create a makeshift handle on the central dial. Each notch on this dial controls a specific set of pillars. For those playing on different hardware, here is a quick reference for the stab attack:
| Platform | Input Command |
|---|---|
| PC | Shift + Right Click |
| PlayStation | Triangle (during combat stance) |
| Xbox | Y (during combat stance) |
Step-by-Step Solution
Position yourself facing the five pillars, numbering them 1 to 5 from left to right. Follow these exact movements from the default starting position:
- The Initial Raise: Interact with the left side of the dial. Move it clockwise slightly until the three pillars on the right (3, 4, and 5) are raised exactly one thin segment above the height of the second pillar.
- Mid-Section Alignment: Move to the next notch clockwise (located on the northwest side of the dial). Rotate one step clockwise. This raises pillars 2, 3, and 4. At this stage, pillars 3 and 4 should reach their target height and glow yellow.
- Final Synchronization: Locate the notch on the eastern side of the dial. Move it clockwise to raise pillars 2 and 5. Once they reach the peak, the entire row will align, triggering the completion sequence.
Due to the sensitivity of the controls in Crimson Desert, even a slight over-rotation can throw the sequence off. If the pillars do not glow blue after these steps, return to the specific notch for the misaligned pillar and adjust with micro-movements.
Rewards: The Abyss Artifact
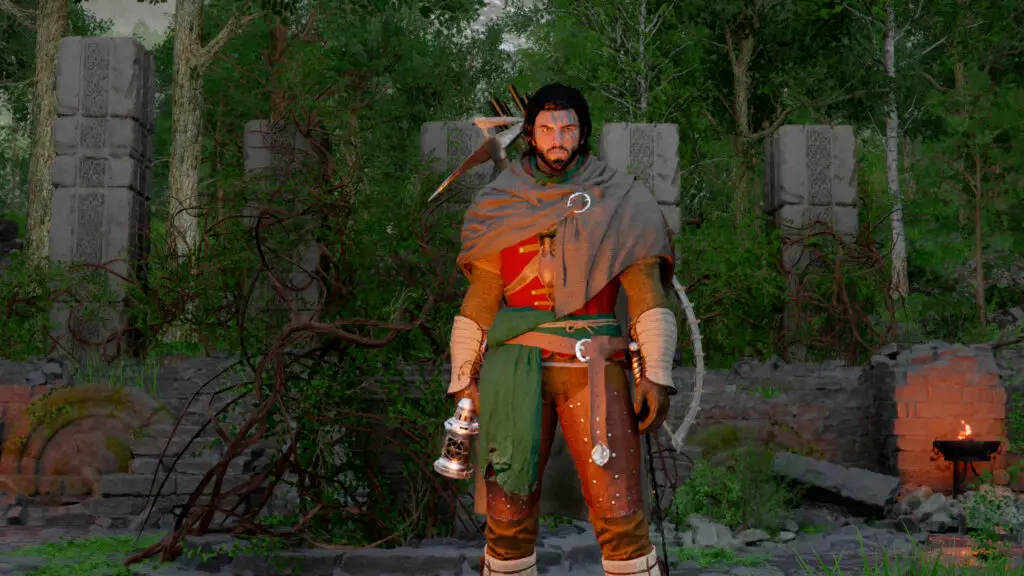
Successfully solving the Duskwood Hill Ruins puzzle rewards you with an Abyss Cresset, which is used to obtain an Abyss Artifact. In the progression system of Crimson Desert, these are vital as they grant additional skill points, allowing you to further customize Kliff’s combat capabilities.
For more deep dives into gaming mechanics, PC game optimizations, and the latest AI technology, stay tuned to Digital Tech Explorer. Our mission is to help you stay ahead of trends and master every challenge the digital world throws your way.
Looking for more guides? Visit the author page of TechTalesLeo for more storytelling-driven tech insights.