
In the enigmatic world of Pragmata, the Red Zones represent the ultimate test of a player’s combat prowess. Here at Digital Tech Explorer, we’ve spent hours navigating these high-stakes arenas to bring you the definitive guide on unlocking them. These combat zones offer some of the most lucrative rewards in the game, but the real challenge often lies in simply gaining entry. To step inside, you first need to track down the elusive Red Gate Keys.
As your resident guide, TechTalesLeo, I’ve discovered that the game’s layout can be quite deceptive. While your first encounter in Sector 2 suggests keys are nearby, they are frequently tucked away in distant corners of the map or hidden behind progression milestones. To save you the backtracking, I’ve compiled a comprehensive breakdown of every Red Zone and Gate Key location discovered so far.

How to Secure Red Gate Keys in Pragmata
One crucial tip for every explorer: any Red Gate Key can open any Red Zone. This flexibility is vital because some zones lack a local key entirely. In these instances, you’ll need to rely on the Cabin Stamp Club bingo sheets. By collecting Safe Boxes and Rare Earth Memories—and gifting the latter to Diana—you’ll earn Cabin Coins to unlock these keys. Occasionally, you may even need to complete a level and return later to access specific areas.
| Location | Red Zone Area | Key Source | Primary Reward |
|---|---|---|---|
| Sector 2 | Shopping District | Local Cafe (Near Riot Gun) | Pure Lunum |
| Sector 2 | Business District | Trainee Bingo Sheet | Pocket Refinery Mod |
| Sector 3 | Plant Factory | Associate Bingo Board | Pure Lunum |
| Sector 3 | Eco Modeling Lab | Laptop on Upper Walkway | Collateral Damage Mod |
| Sector 3 | Terrarium | Specialist Bingo Board | Storage Expander |
| Sector 4 | Warehouse | Lab in Main Excavation Site | Pure Lunum / Storage Expander |
| Sector 4 | Main Excavation Site | Director’s Stamp Board | Economise Mod |
| Sector 6 | Regolith Lab | Director’s Bingo Board | Pure Lunum (x2) |
| Sector 6 | Lunafilament Lab | Research Sector Laptop | Storage Expander |
Sector 2: Mass Production Array Walkthrough
Shopping District
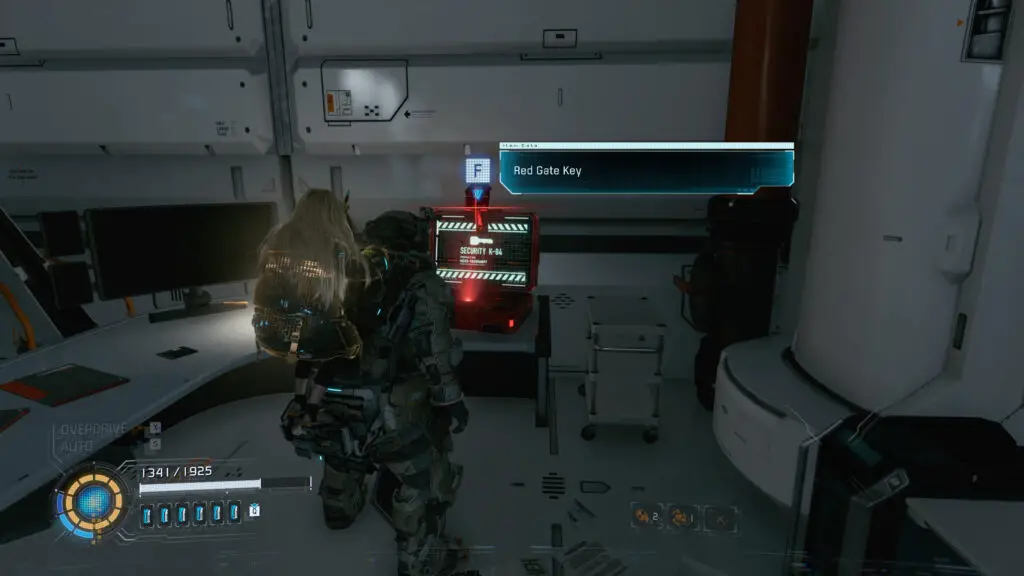
After IDUS initiates the main street lockdown, navigate the side street ambush. Directly past the Escape Hatch lies the game’s introductory Red Zone. The Red Gate Key is conveniently located in the nearby cafe, situated close to the Riot Gun weapon pickup. Successfully clearing this arena grants your first Pure Lunum, a critical material for high-level upgrades.
Business District
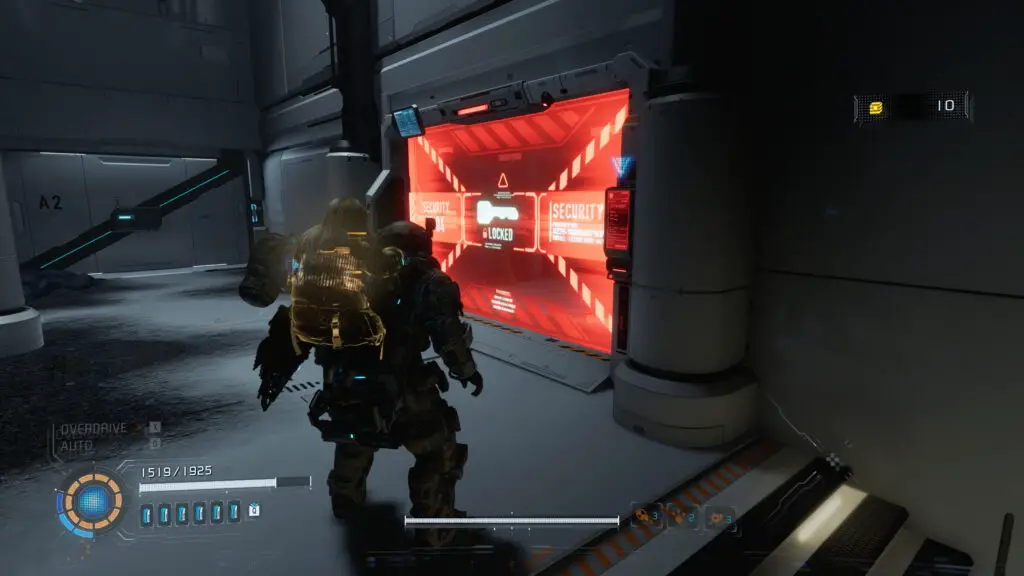
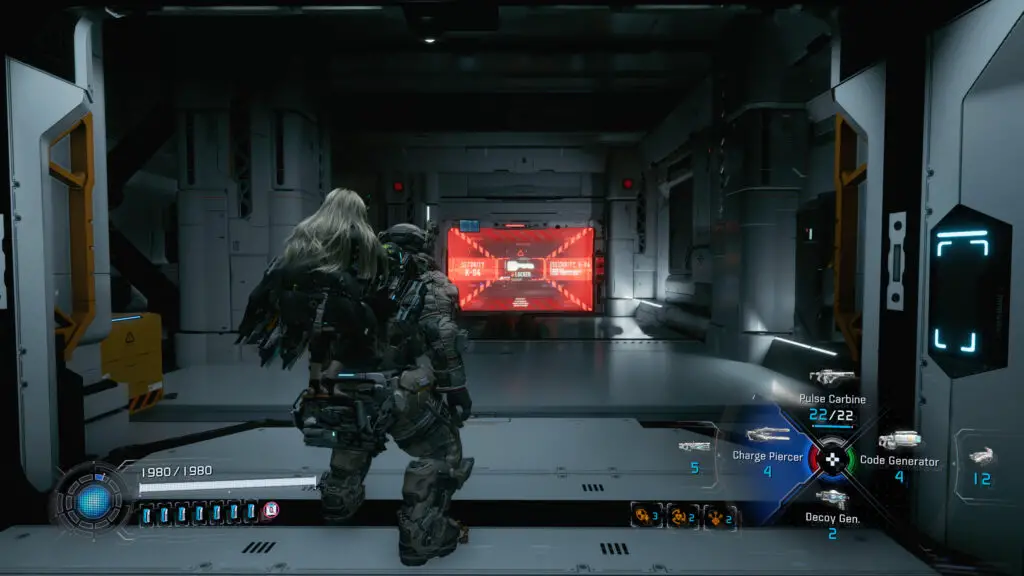
This barrier is located in the lower area to your right after utilizing the Escape Hatch between the Side Alley and the Business District. Since no key is found locally, I recommend using a key from the Trainee bingo sheet (bottom middle square). Completing this zone rewards you with the Pocket Refinery mod, which boosts your lunafilament gain by 10%.
Sector 3: Terra Dome Exploration
Plant Factory
Located at the end of the decontamination chamber, this zone is mandatory for progression regardless of whether you choose Route A or B. Again, you will need to spend a key from the Cabin Stamp Club; the Associate board (bottom right tile) is your best source here. The reward for your efforts is another piece of Pure Lunum.
Eco Modeling Lab
In the main atrium where you place the Gen Chips, you’ll find a Red Zone adjacent to the Escape Hatch. The Red Gate Key is found on a laptop past the second Gen Chip location on the upper walkway. This zone is highly recommended as it yields the Collateral Damage mod, allowing 30% of Critical Shot damage to chain to nearby foes.
Terrarium
Near the end of the Terra Dome level, look to the left of the locked door and Escape Hatch. To access this, you must unlock the Specialist bingo board by completing the level first. This arena is filled with invisible enemies, so equip your Stasis Net and Decoy Generator. Success here grants a Storage Expander for Diana’s hacking gauge.
Sector 4: Lunum Mines Strategy
Warehouse
Situated next to the Warehouse Entrance Escape Hatch, this zone typically requires you to find a key later in the level. Once you reach the lab in the Main Excavation Site, look for a red laptop on a desk near the Logistics Management Escape Hatch to grab the key. This challenge rewards you with both Pure Lunum and a Storage Expander.
Main Excavation Site
Just past the Logistics Management Escape Hatch, before the Tower Access Point, lies another arena. To open this, you must finish the level to unlock the Director’s Stamp Board back at the Cradle. The reward for this difficult encounter is the Economise mod, which helps manage your resources during intense gaming sessions.
Sector 6: Central Port Final Encounters
Regolith Lab
The first zone here is found after navigating the laser corridor in the Research Station Lobby. You should have a spare key from the Director’s bingo board or can find one in a laptop room after the second elevator. Because this arena is swarming with flying units, the Impact Barrier is your best friend. Clearing it nets you two Pure Lunum units.
Lunafilament Lab
The final Red Zone is located by the Connect Center Escape Hatch. This is arguably the toughest arena in the game, packed with high-tier robotics. TechTalesLeo’s pro-tip: bring maximum AoE weaponry and the Confuse hacking node. Your reward is a final Pure Lunum and another Storage Expander to max out Diana’s capabilities.
Mastering these zones is essential for any player looking to optimize their gear. For more in-depth analyses on PC games and the latest in digital innovation, stay tuned to Digital Tech Explorer.
Explore more Pragmata insights:
• TechTalesLeo’s Full Pragmata Master Guide
• Hardware Benchmarks: Optimizing Pragmata Performance
• AI Acceleration and Gaming: What You Need to Know