
At Digital Tech Explorer, we’ve seen our fair share of genre-bending titles, but Pragmata occupies a space all its own. It’s a fascinating juxtaposition: the game feels like a polished relic from two decades ago while simultaneously pushing the boundaries of modern AI-driven gameplay. As a software engineer, I find the rigid, linear level design an interesting contrast to the hyper-complex currency systems and technical combat mechanics. Our deep dive into the world of Hugh and Diana reveals a game that rewards technical precision and resource management above all else.
The Fundamentals of Combat
Mastering the Hack
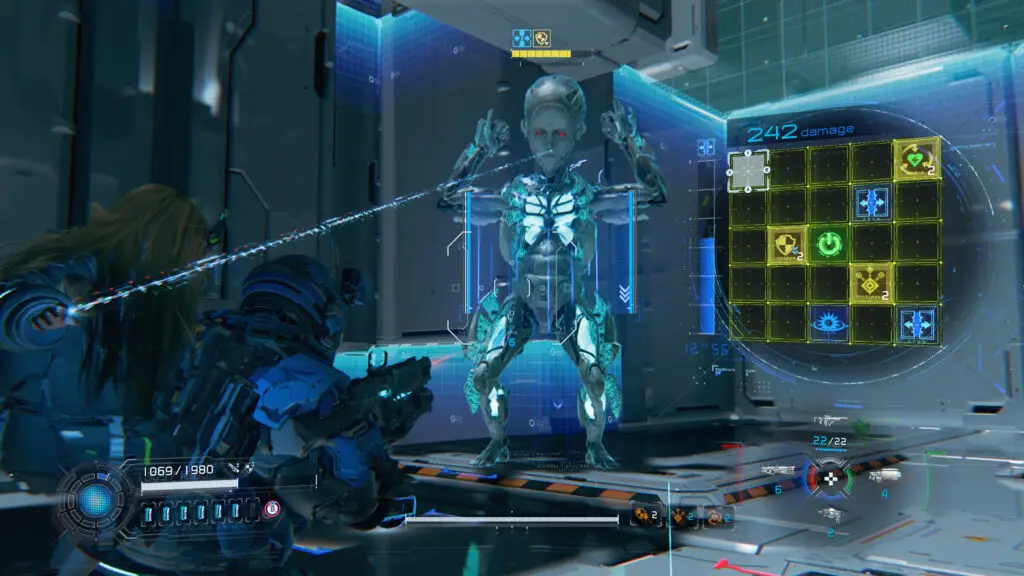
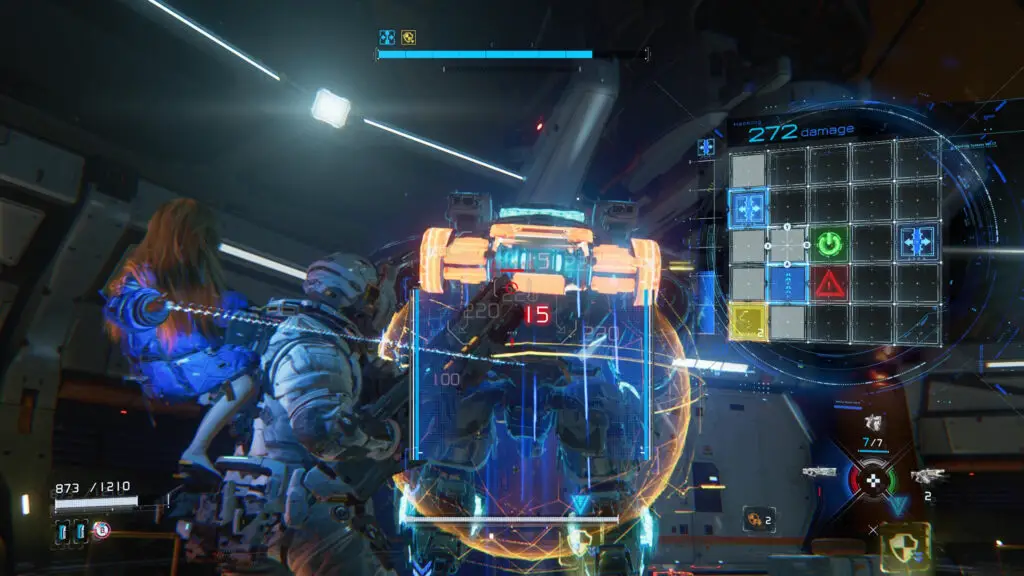
In Pragmata, traditional “run and gun” tactics are largely ineffective. Your high-tech arsenal often feels underpowered because the core gameplay loop revolves around Diana’s AI powers. To deal significant damage, you must hack enemies by projecting a digital grid onto the HUD. By holding the aim button and navigating the grid with your interface (Alt + Mouse or Controller face buttons), you create paths to exploit the enemy’s kernel.
When navigating the hacking grid, you will encounter various nodes that dictate the success of your breach:
- Blue Tiles: These are power amplifiers. Passing through these before reaching the green goal increases the hack’s potency. Variants like blue arrows extend the “OPEN” status duration, while explosive blue tiles boost direct damage.
- White Triangles: Standard obstacles. These act as firewalls that you must navigate around to maintain the connection.
- Yellow Tiles: These consume your hack module charges (like Decode or Multihack) to apply immediate buffs or debuffs.
- Purple Tiles: The high-risk, high-reward nodes. These enable “Critical Shots,” allowing for massive damage output once the hack is complete.
- Red Warning Signs: Digital counter-measures. Touching these damages Hugh and immediately terminates the hacking attempt.
- Static/Filament: Distorted tiles that slow down the process and drain Diana’s Overdrive. Use the Cleanse ability to clear the corruption before proceeding.
Once a hack is successful, the enemy enters an “OPEN” state. This is the only time your weapons deal optimal damage. After defeating the first major boss, you gain access to the Overdrive Protocol, an ultimate ability that instantly renders enemies OPEN and immobile.
The Arsenal: Modular Weapon Units
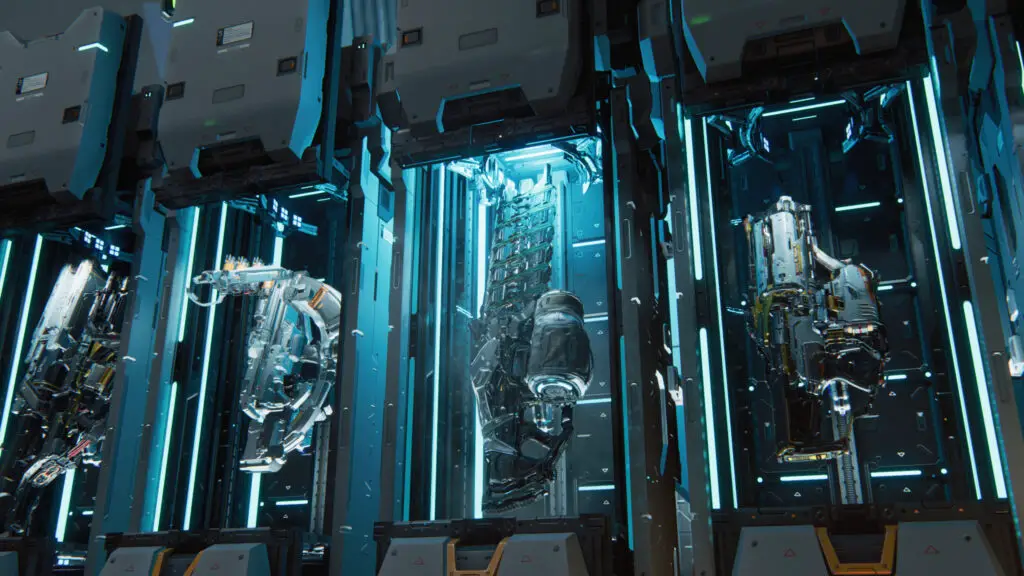
The weapon system in Pragmata utilizes a “Unit” classification system. Aside from your Primary Unit, most weapons function as high-value consumables with limited ammunition. TechTalesLeo recommends diversifying your loadout at the Unit Printer before every deployment.
| Unit Type | Color Code | Functionality | Ammo Type |
|---|---|---|---|
| Primary Unit | White | Standard Pistol/Assault Rifle for consistent fire. | Infinite (Recharging) |
| Attack Unit | Red | High-impact weapons like Railguns and Shotguns. | Limited (Consumable) |
| Tactical Unit | Green | Crowd control tools, including Traps and Grenades. | Limited (Consumable) |
| Defense Unit | Blue | Survivability tools such as portable Shields or Clones. | Limited (Consumable) |
Survival and Progression
Survival in Pragmata is a matter of suit maintenance. There is no passive health regeneration; Hugh must utilize Repair Canisters to fix suit integrity. These operate similarly to the “Estus” system seen in Soulslike games, replenishing only when you return to the Shelter or interact with specific red terminals.
Economic Resources
To stay ahead of the escalating difficulty, you must manage several unique resources. Here is how Digital Tech Explorer breaks down the in-game economy:
| Currency/Resource | Where to Spend | Primary Function |
|---|---|---|
| Lunafilament | Unit Printer | Purchasing new weapons and hacking modules. |
| Upgrade Components | Firmware Updater | Direct stat boosts for Health, Defense, and Hacking. |
| Cabin Coins | Cabin Stamp Club | Unlocking bingo-style rewards and milestone gear. |
| Read Earth Memories | REM Replicator | Cosmetic replications and Cabin Coin generation. |
The Shelter: Your Technical Hub
The Shelter is the heart of your operation. As you progress, you will unlock Shelter License Keys, which grant access to higher-tier technology. Within the Shelter, the Firmware Updater allows for permanent stat increases across three branches: Suit (Health/Def), Primary Unit (Damage/Ammo), and Hacking (Diana’s efficiency).

The Cabin Stamp Club
One of the more unique systems TechTalesLeo discovered is the Stamp Club. By spending Cabin Coins on a bingo-style grid, you unlock items like bonus Repair Canisters and new outfits. Some tiles are locked behind Red Zones—combat arenas found in the field that require a specific Red Gate Key to enter.
End-Game and New Game+
Upon completing the main narrative (which takes roughly 10 to 15 hours depending on your completionist tendencies), you unlock New Game+. This allows you to carry over all hardware upgrades into a new run. For those seeking a technical challenge, the Lunatic Difficulty setting introduces tougher enemy AI but rewards the player with exclusive weapon tiers.
Additionally, the Unknown Signal mode provides post-campaign content via Sim Pod challenges in the Hidden Chamber. These are the ultimate tests for any player looking to master the game’s complex graphical and technical mechanics.
Explore more Pragmata Technical Guides:
• Pragmata Red Zones: Full Gate Key Location Map.
• Optimal Loadouts: Best Weapon Combinations for Lunatic Difficulty.
• Barrier Tech: How to Neutralize Blue and Red Crystals.
• Boss Protocols: Strategies for Sector Guard and Luna Digger.