
In the world of Monster Hunter Stories 3, the Calamitous Elder Dragons represent the ultimate benchmark for any Rider’s skill. These legendary creatures are more than just endgame obstacles; they are the gatekeepers to the highest tier of gear and rare Monstie genes. At Digital Tech Explorer, we’ve logged countless hours of real-world testing and data analysis to bring you the definitive guide on how to survive—and conquer—these formidable encounters.
Calamitous Elder Dragons aren’t your typical roaming monsters. Each region houses one specific legend that appears only after you’ve triggered a local ecological shift—usually by defeating high-rank monsters during the night cycle. Once the criteria are met, a distinct cinematic will signal their arrival. If you’re looking to optimize your team and master the game’s mechanics, here is how to navigate these high-stakes battles.
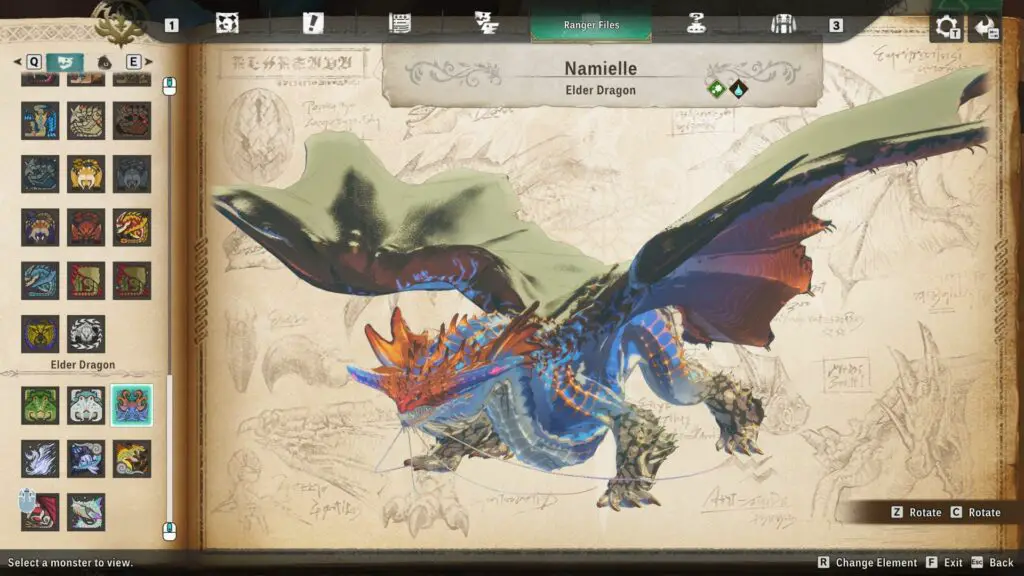
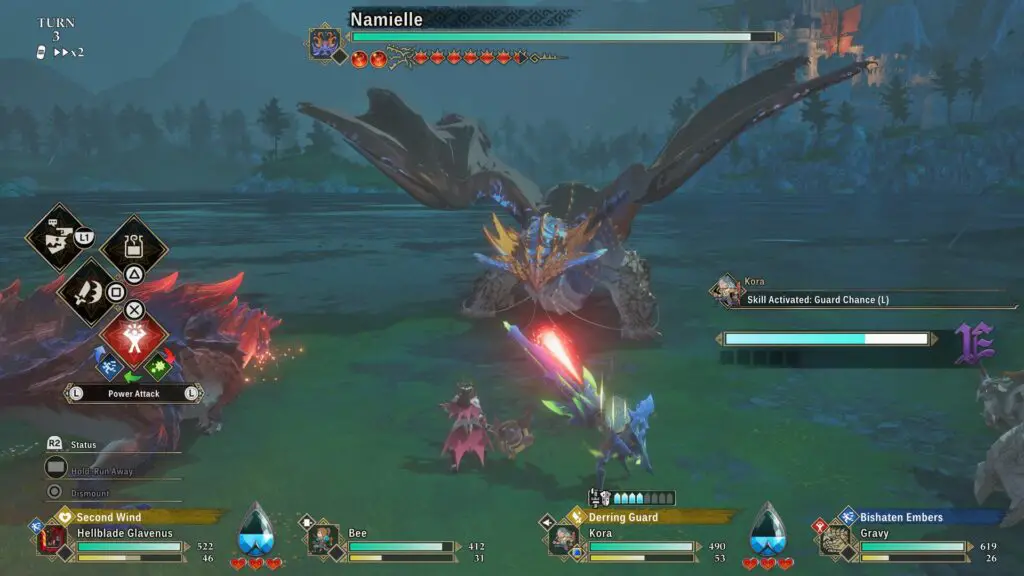
Namielle: The Abyssal Controller
Introduced in the Iceborne expansion and making a stunning debut in the Stories series, Namielle is the Calamitous threat looming over the kingdom of Azuria. This Elder Dragon is a master of elemental manipulation, utilizing both Water and Thunder to keep Riders on the defensive. You can find this bioluminescent terror soaring above Mirror Lake once summoned.
| Stat Category | Details |
|---|---|
| Recommended Level | 75 |
| Elemental Weakness | Fire, Dragon, Ice |
| Elemental Resistance | Water, Thunder |
| Ailment Weakness | Poison, Burn, Blastblight, Darkness |
| Ailment Resistance | Paralysis, Sleep, Bleed |
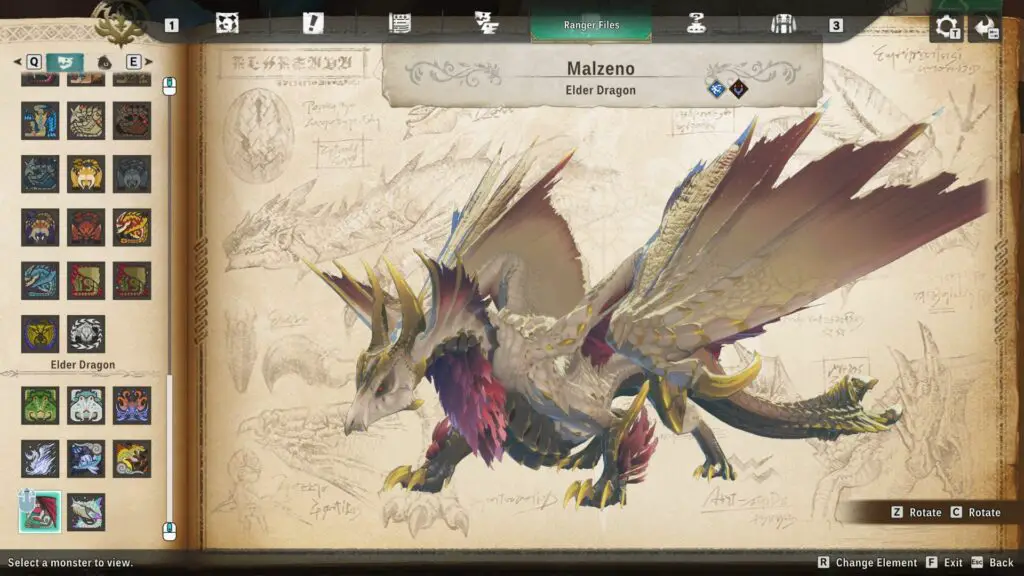
Strategic Analysis: Malzeno is your MVP here. Its Dragon-elemental output bypasses Namielle’s defenses, while its natural resistances provide a safety net against electric surges. Namielle cycles through three distinct phases:
- Water Mantle: It leads with green Technical moves. Counter these with red Power attacks.
- Abyssal Charge: Namielle shifts to blue Speed attacks and begins dealing AOE Thunder damage. Buff your party’s defense immediately. Water Depleted: This is your window. Namielle becomes vulnerable and switches to red Power attacks. Dominate these with blue Speed attacks to maximize your Wyvernsoul gauge.
Pro Tip: Equip armor that mitigates Water damage, and always keep Nulberry Elixirs on your hotbar to clear the stamina-stalling Waterblight status.
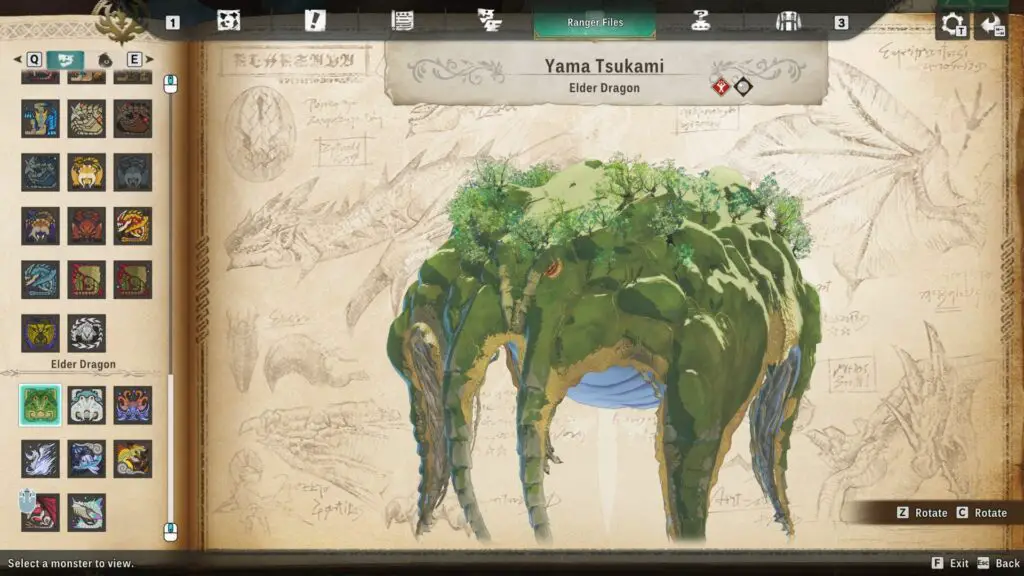
Yama Tsukami: The Floating Mountain
After your initial encounter in the main narrative, Yama Tsukami returns for a high-difficulty rematch in Tarkuan. While it lacks the sheer speed of other Elder Dragons, its massive health pool and devastating AOE capabilities make it a battle of endurance.
| Stat Category | Details |
|---|---|
| Recommended Level | 60 |
| Elemental Weakness | Dragon, Ice |
| Elemental Resistance | Thunder, Fire |
| Ailment Weakness | Darkness, Bleed |
| Ailment Resistance | Poison, Paralysis, Burn, Sleep, Blastblight |
Strategic Analysis: While Malzeno remains a top-tier choice due to its parasitic healing genes, Lunagaron or Aurora Somnacanth are excellent secondary options for their Ice damage. The fight is a puzzle: during its normal state, focus all damage on the tentacles to minimize the damage from its red Power attacks. Once the tentacles break, the mouth opens—this is a “soft enrage” timer. You have seven turns to break the mouth before it uses Yama Tsukami Pull, a move that typically results in a total party wipe.
Ibushi and Narwa: The Serpent Duo
Widely considered the most grueling encounter in Monster Hunter Stories 3, the dual fight against Wind Serpent Ibushi and Thunder Serpent Narwa is a technical nightmare. You must manage two targets simultaneously, both of which possess “one-shot” potential.
| Stat Category | Ibushi (Wind) | Narwa (Thunder) |
|---|---|---|
| Elemental Weakness | Fire, Dragon | Ice, Dragon |
| Elemental Resistance | Ice, Thunder | Thunder, Fire |
| Ailment Weakness | Bleed | Poison |
| Ailment Resistance | Sleep, Paralysis, Blastblight, Burn | |
Strategic Analysis: Magnamalo excels here due to its high base defense and ability to exploit Dragon weaknesses. In this battle, the serpents take turns being the primary aggressor. When one has a “Mantle” active (Wind for Ibushi, Thunder for Narwa), they are the offensive threat. The other will enter “Mind Connection” to provide support.
Focus your fire on the Mantle-user to break parts and generate Wyvernsoul energy. Winning Head-to-Heads is vital for survival. Ibushi uses red Power attacks during Wind Mantle, while Narwa uses green Technical moves during Thunder Mantle. Use defensive skills like Divine Blessing or Tenacity to survive their synchronized AOEs.
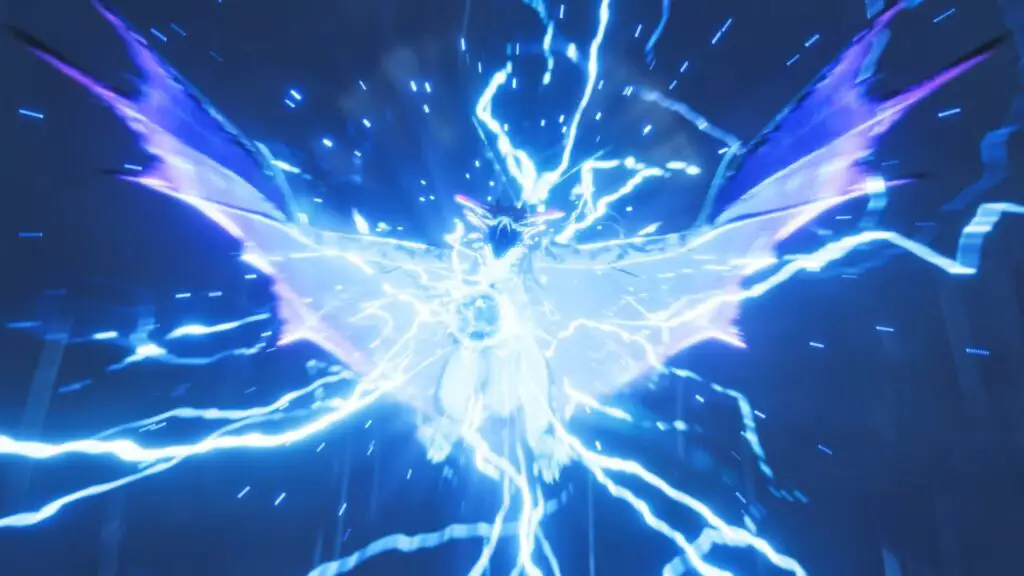
Velkhana: The Frostbound Flagship
The final Calamitous Elder Dragon is Velkhana, the crown jewel of the Iceborne legacy. This encounter is a dance of timing and status management, requiring Riders to be proactive rather than reactive.
| Stat Category | Details |
|---|---|
| Recommended Level | 75 |
| Elemental Weakness | Fire, Dragon |
| Elemental Resistance | Ice, Water |
| Ailment Weakness | Burn, Poison, Blastblight |
| Ailment Resistance | Paralysis, Sleep, Bleed |
Strategic Analysis: Ratha is surprisingly effective here, offering natural Ice resistance and high-impact Fire damage. Velkhana’s primary mechanic is Frostblight. If you fail to clear this status by winning Head-to-Heads or performing Double Attacks, your character will be toppled, losing a vital turn in the process.
Velkhana cycles its patterns predictably: Technical (Normal) → Speed (Ice Mantle) → Power (Freezing Fog Mantle). Mastering this sequence allows you to bully the dragon through constant Double Attacks. Save your Kinship Skill for Velkhana’s ultimate AOE blasts to interrupt the animation and negate the damage entirely. With a fire-focused loadout and precise targeting, the queen of ice will fall.
Conquering these four legends is no small feat, but the rewards—from top-tier armor sets to game-breaking genes—are well worth the effort. For more in-depth guides on Monstie builds and digital tech deep-dives, stay tuned to Digital Tech Explorer.