
At Digital Tech Explorer, we love seeing how digital innovation can transform the most mundane objects into something extraordinary. If you’ve ever looked at a fidget toy and wished it were a functional mini games console—complete with an OLED display and mechanical switches—you’re in luck. With a bit of hardware expertise and a passion for DIY projects, you can now build your own handheld gaming device.
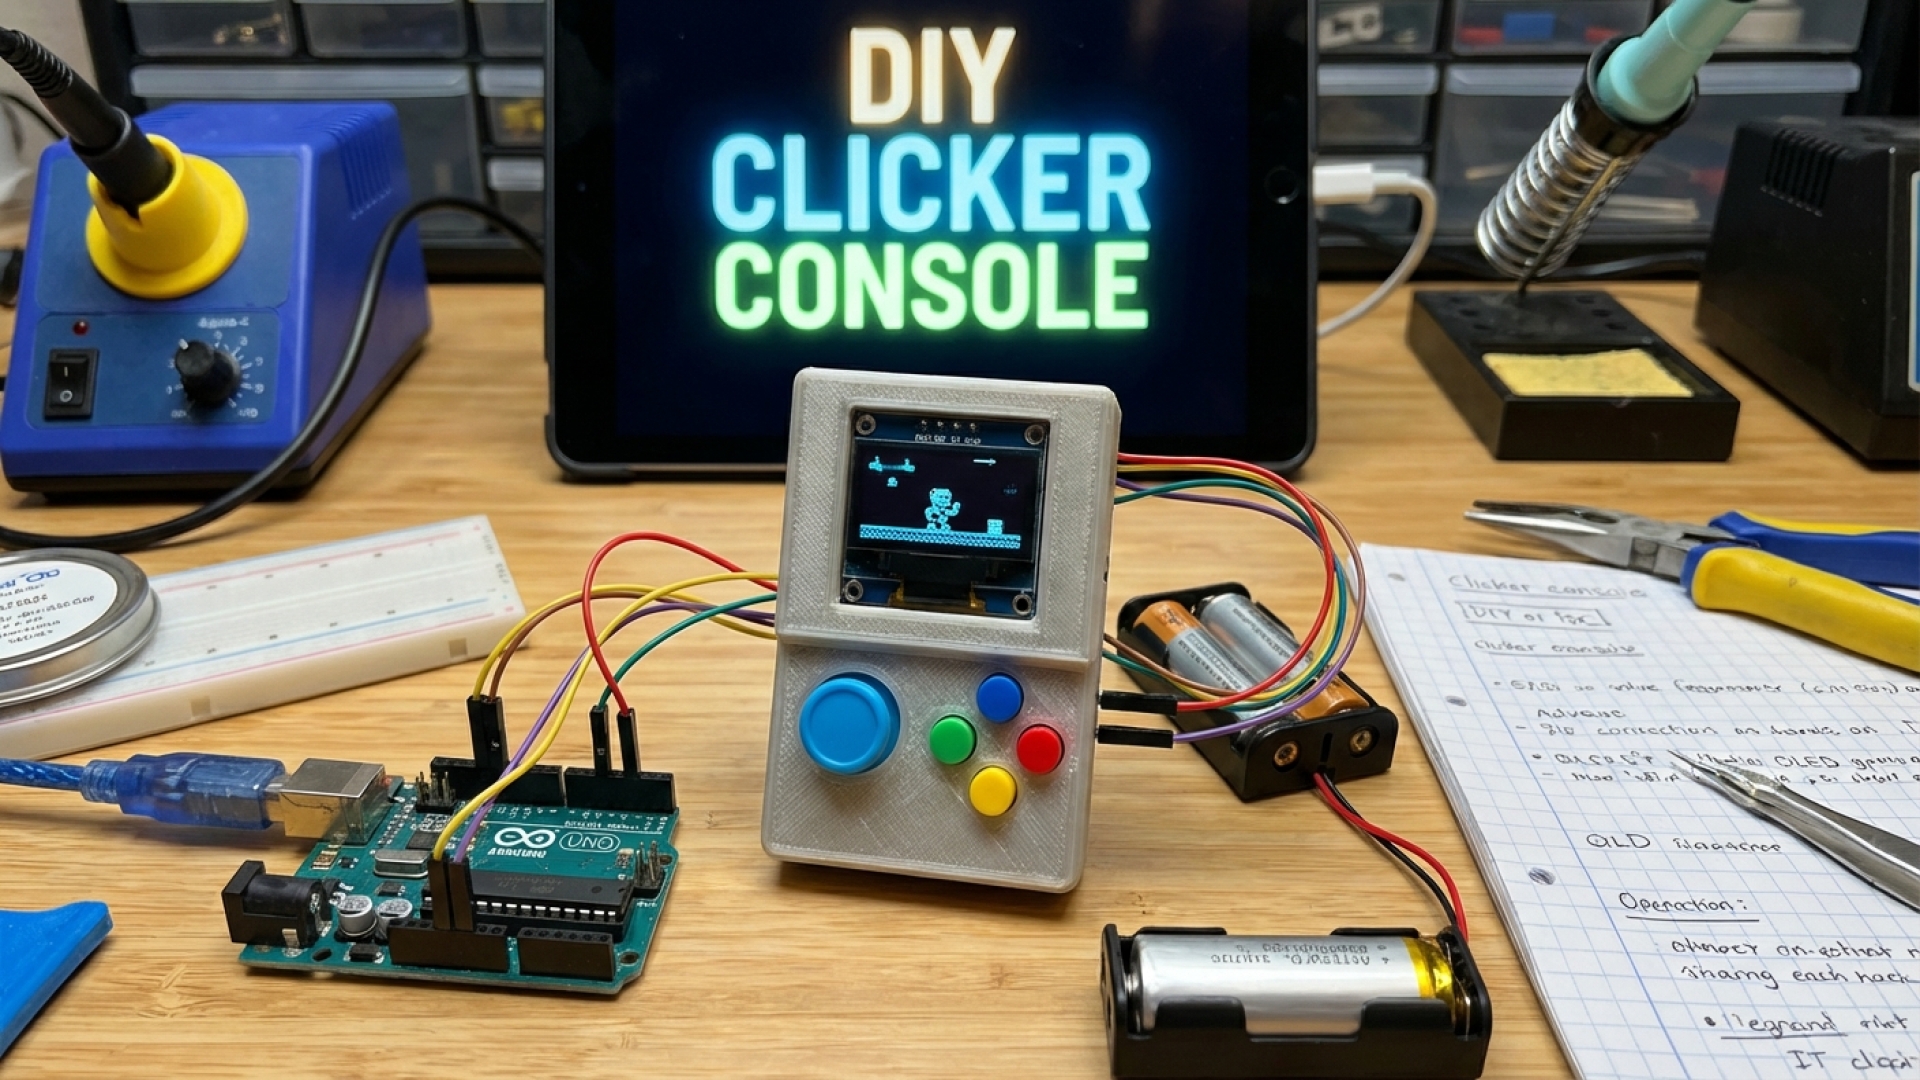
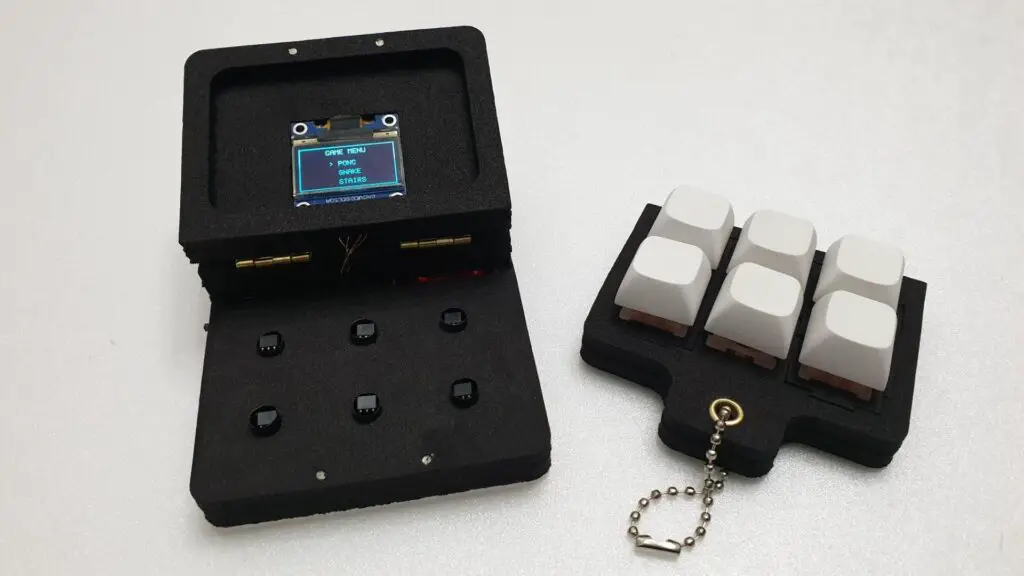
This intricate build, shared by creator wjddnjdnd on Instructables (and featured via Hackaday), is playfully titled the GameBox Clicker. As a storyteller who loves the intersection of tactile feel and digital feedback, I find this “modular magnet key game console” fascinating. It’s capable of running retro favorites like Pong and Snake, alongside the vertically-scrolling Stair Game. It even includes a lanyard hole, making it a truly portable piece of tech art.
The creator notes that this project isn’t about pushing high-end GPU performance; instead, it’s an exploration of how simple inputs can create engaging experiences. For our community of developers and enthusiasts, it’s a perfect example of how small DIY projects can spark massive inspiration. If you’re ready to pick up a soldering iron, here is the essential kit required to bring this to life.
| Component Category | Item Description | Quantity |
|---|---|---|
| Core Controller | Arduino Nano | 1 |
| Display | OLED Display (SSD1306, I2C) | 1 |
| Power System | TP4056 Li-ion Charging Module & MT3608 Step-Up Converter | 1 each |
| Battery | 3.7V Li-ion Battery (380mAh) | 1 |
| Sensors | A3144 (A3114) Hall Sensors | 6 |
| Input | Magnetic Shaft Keys & Keycaps | 6 each |
| Materials | 5mm EVA Foam, Neodymium Magnets (1x2mm) | 30 magnets |
| Hardware | Small Hinges, Gold Eyelets, Keyring Chain | Various |
Don’t let the list intimidate you. While the construction requires precision—including laser-cutting EVA foam layers and wiring a USB Type-C compatible power system—the process is a masterclass in compact engineering. The magic lies in the Hall sensors, which detect the magnetic field of the keys. Fine-tuning their alignment is critical; they must be secured only after optimal sensitivity is confirmed through Arduino test code.
During the testing phase, the built-in LED flashes when a sensor is triggered. If the keys don’t respond when pushed halfway, you’ll need to adjust the sensor positioning. This type of real-world troubleshooting is exactly what we advocate for at Digital Tech Explorer—it’s how you truly master your craft.
If you aren’t quite ready for the hardware assembly, you can still experience the project via an accessible web simulation. This digital version is fully functional and even includes a multiplayer mode for Pong. As the creator points out, each game utilizes a different key layout, mirroring the authentic feel of a classic arcade cabinet.
Looking ahead, there are plans to refine the enclosure, enhance sound capabilities, and add even more titles to the library. Having previously built a four-key customizable clicker, the developer’s leap to a full OLED-integrated system is impressive. At Digital Tech Explorer, we’ll be watching closely—perhaps the next iteration will even have enough memory to run a custom port of Minecraft or Doom!
For more in-depth AI trends, hardware reviews, and coding scripts, stay tuned to Digital Tech Explorer.