At Digital Tech Explorer, we’ve navigated our fair share of complex game mechanics, but few puzzles in the early hours of Crimson Desert are as initially confounding as the Toward the Nest puzzle. I’m TechTalesLeo, and while I’ve spent years dissecting software logic and digital trends, this particular sequence felt like a true test of observation over brute force.
Solving this quest involves chasing the Crowcaller into the Abyss. If you found completing Abyss Without Balance or activating the Spire of the Stars relatively straightforward, the skybridge sequence here might throw you for a loop. It requires a blend of platforming and precise interaction with the game’s Axiom Force mechanics.
Solving the Toward the Nest puzzle in Crimson Desert requires precision and the right use of Axiom Force.
How to Activate the Skybridge in Toward the Nest
Your journey begins at the Spire of Soaring. After entering the cave located down and to the right of the main entrance, you must solve a series of circuit puzzles. Pro tip: use Blinding Flash to reveal the hidden circuit shapes if you’re stuck. Once the lift at the top of the tower triggers, you’ll be transported to the Crescent Skybridge within the Abyss.
Once you arrive, your primary objective is to “activate the skybridge.” As we discovered during our testing, you must remain vigilant of the health-stealing plants scattered throughout the area. Follow these steps to restore power:
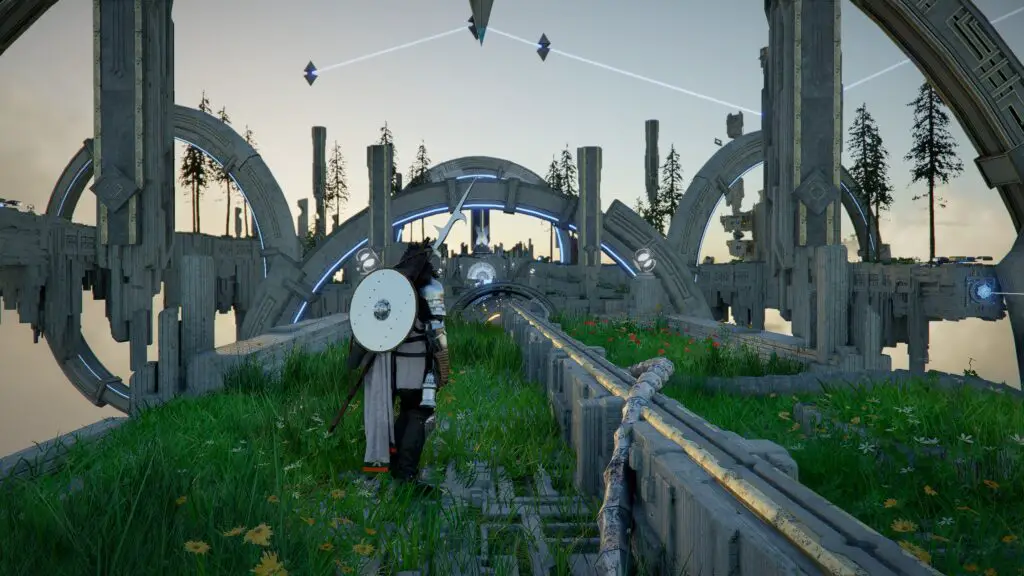
Reach the Upper Ring: Climb to the ring above the main platform. You will see three orb-like devices emitting lasers: a central orb, one to the left, and one to the right.
Align the Lasers: The side lasers are currently misaligned. Use Axiom Force on the rear of the left and right devices to manually steer the beams until they strike the blue crystals on the opposite side.
Cross the Gap: Use the central laser platform or the left-side platforms to fly across the chasm and climb to the top of the opposite structure.
Reconnect the Power Pipes: You must locate and reattach two connecting pipes to energize the main switch. One is positioned behind the central blue crystal; the second is located on the cable behind the right-side crystal.
Initiate the Switch: Once the large disc lights up, stand on it and use Force Palm (as seen in the Abyss Without Balance quest) to fully activate the bridge.
With the bridge active, you are clear to continue your pursuit of the Crowcaller across the Abyss.
Puzzle Summary & Requirements
Objective
Required Action
Ability/Tool
Reveal Circuits
Visual Detection
Blinding Flash
Align Orbs
Manual Directional Control
Axiom Force
Power Switch
Impact Activation
Force Palm
Essential Crimson Desert Resources
At Digital Tech Explorer, we focus on making complex technology and gaming mechanics accessible. If you’re looking to further optimize your journey through the Abyss, check out our related deep dives:
Explore our comprehensive guides to master Crimson Desert’s mechanics.
Skill Respec Guide: How to use Faded Abyss Artifacts to swap your build.
Thievery & Looting: Master the art of pilfering items and finding hidden keys.
Fast Travel Mechanics: Navigating the world via Mysterious Energy and Abyss Nexuses.
For more in-depth analyses and the latest in digital innovation, stay tuned to Digital Tech Explorer. Whether you are a seasoned professional or a curious novice, our mission is to help you stay ahead of the curve.