
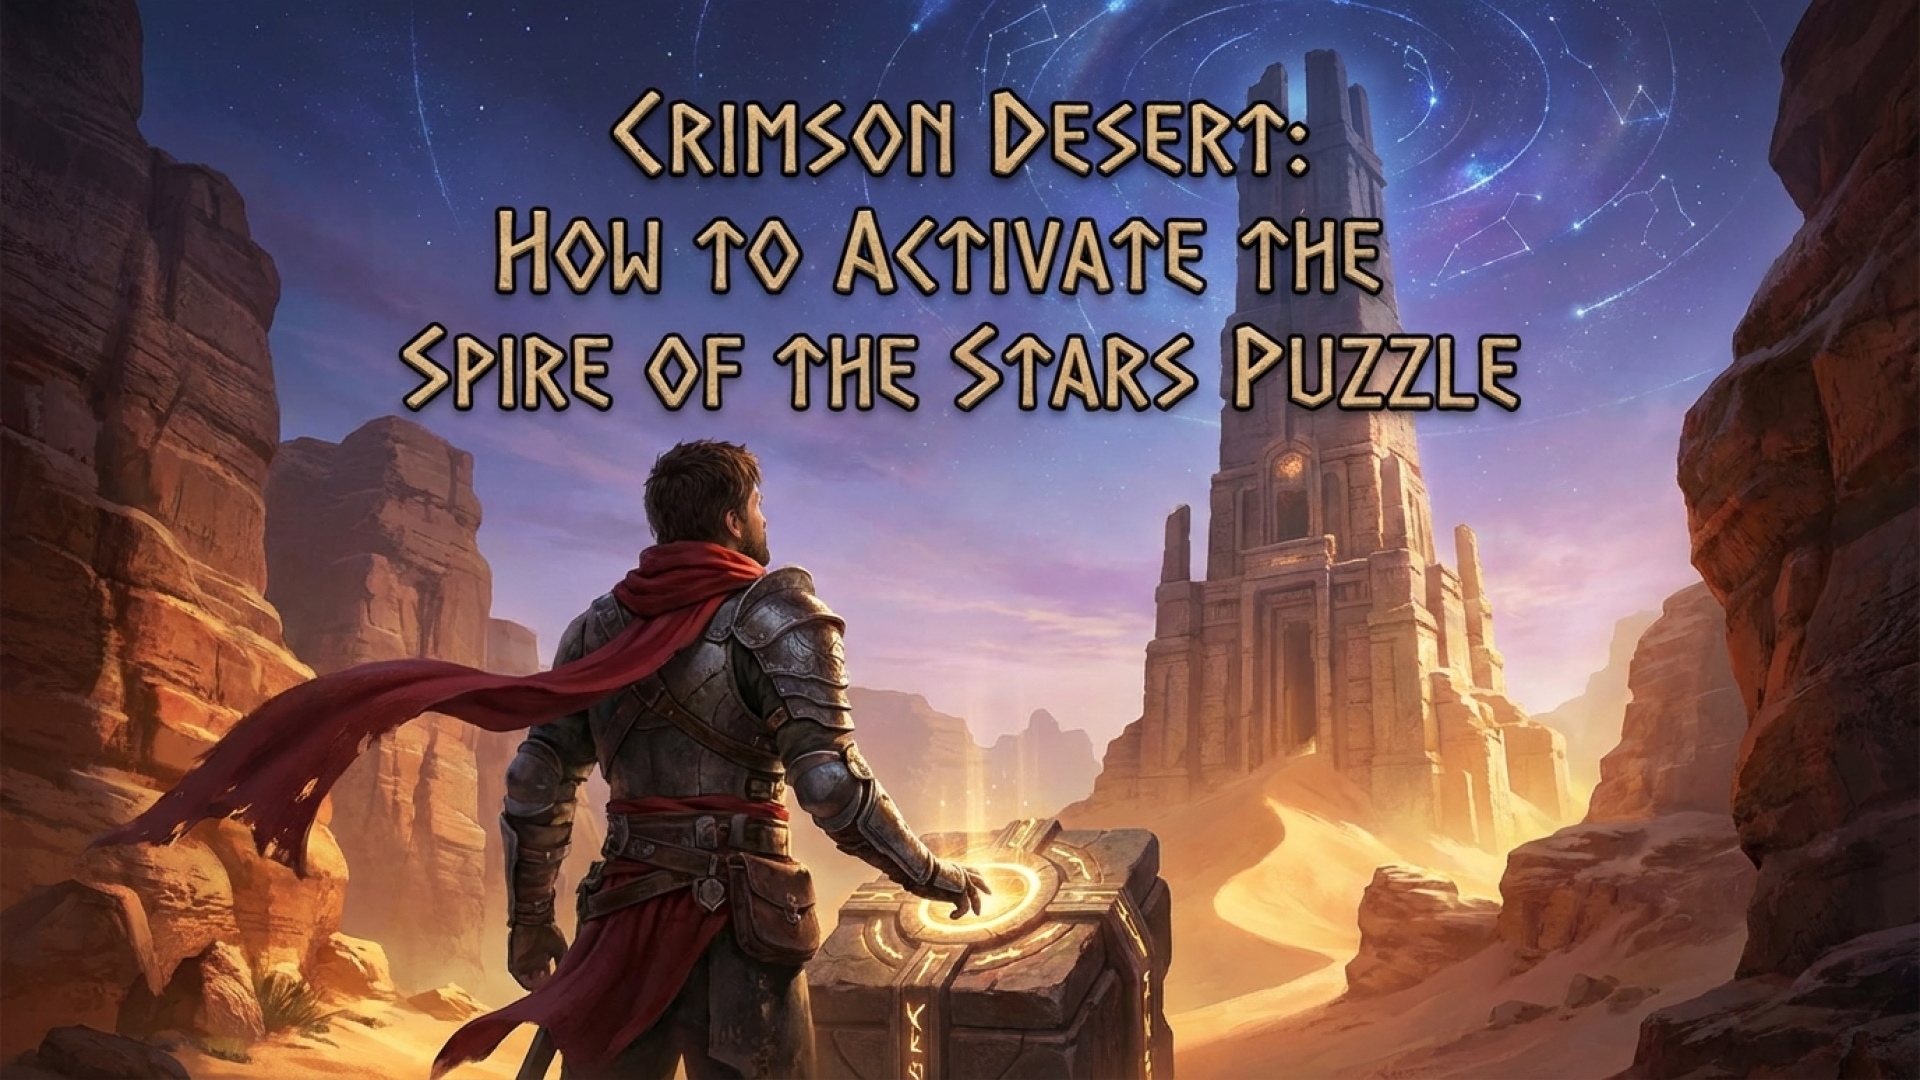
Navigating the intricate world of Crimson Desert often feels like a journey through a grand digital narrative, where every puzzle serves as a gateway to the next chapter. Here at Digital Tech Explorer, we specialize in breaking down these complex mechanics to help you stay ahead. After Octavius’s experiment takes a sharp turn for the worse, you will find yourself tasked with a crucial mission: you must activate the Spire of the Stars.
The head of the institute provides the key to this mysterious tower, but the real challenge lies in restoring power to the elevator. While the trial may seem daunting compared to the previous puzzles at Scholastone, the solution is rooted in understanding the environment. As part of our commitment to making technology and gaming both educational and accessible, I have mapped out the exact steps needed to reach the summit.

Mastering the Spire of the Stars Elevator Puzzle
Upon unlocking the spire with your key, you will enter the base of an elevator shaft flanked by two side rooms. Your first objective is to enter these rooms and interact with the glowing symbols on the walls. Push against these icons to force them inward; this triggers a mechanism that spins them around, rewarding you with an Engraved Cube. Note that the circular symbol is pre-activated and does not require this step.
Once you have gathered the cubes, return to the central chamber. Insert the items into the three slots located at the base of the far wall. This action causes the symbols to rise. To complete the circuit, you must manually adjust their height to match the configurations seen in the side rooms.
Step-by-Step Activation
- The Triangle: Scale the wall and hang onto the triangular symbol until it descends to the second slot from the bottom.
- The Square: Hang on the square-like symbol until it reaches the very bottom (the first slot).
If the symbols move out of alignment, don’t worry. You can reset their position by bringing them to the bottom and using your Force Palm ability to push them back up. For quick reference, ensure your symbols match the following configuration:
| Symbol Shape | Required Slot Position |
|---|---|
| Circle | Third slot up |
| Square | First slot (Bottom) |
| Triangle | Second slot up |
| Sideways X | Fourth slot up (Top) |
In most instances, the Circle and Sideways X symbols will already be in their correct positions once the cubes are inserted. Once the alignment is perfect, the elevator will hum to life, granting you access to the top of the spire.

If you’re looking to deepen your expertise in this massive open world, TechTalesLeo and the team at Digital Tech Explorer have you covered. Check out our detailed walkthroughs below:
- Crimson Desert Characters: How to unlock every companion.
- Respec Guide: How to use Faded Abyss Artifacts to swap your skills.
- Thievery Mechanics: Master the art of pilfering loot.
- Companion Guide: How to find and care for pets.
- Horse Taming: Level up your mount skills for faster travel.
- Fast Travel: Navigating the Abyss Nexus and mysterious energy nodes.
Disclaimer: All content on Digital Tech Explorer is for informational and entertainment purposes only. Some links may be affiliate links, meaning we may earn a commission at no extra cost to you.