
There’s nothing quite like the thrill of a hunt in the digital wilds of Pywel. In Crimson Desert, the landscape is teeming with outlaws and opportunistic criminals. In fact, after our team at Digital Tech Explorer neutralized what felt like a small army of bandits, it became clear that the local law enforcement could use a helping hand. While individual wrongdoers might seem small compared to the fort-occupying legions, tracking them down is a core part of the mercenary experience. Whether you’re a seasoned developer looking for a break or a tech enthusiast diving into this high-fidelity world, here is our definitive guide on how to unlock bounties and secure them for the Hernand city guard.
How to Unlock Bounties in Crimson Desert
As you navigate through the early narrative of Kliff’s journey, the bounty system becomes accessible once you reach Chapter 2. In the bustling hub of Hernand, keep an eye on notice boards and various posts scattered throughout the city streets. Once you interact with a bounty poster and read the details, the target’s last known coordinates will be updated on your world map.
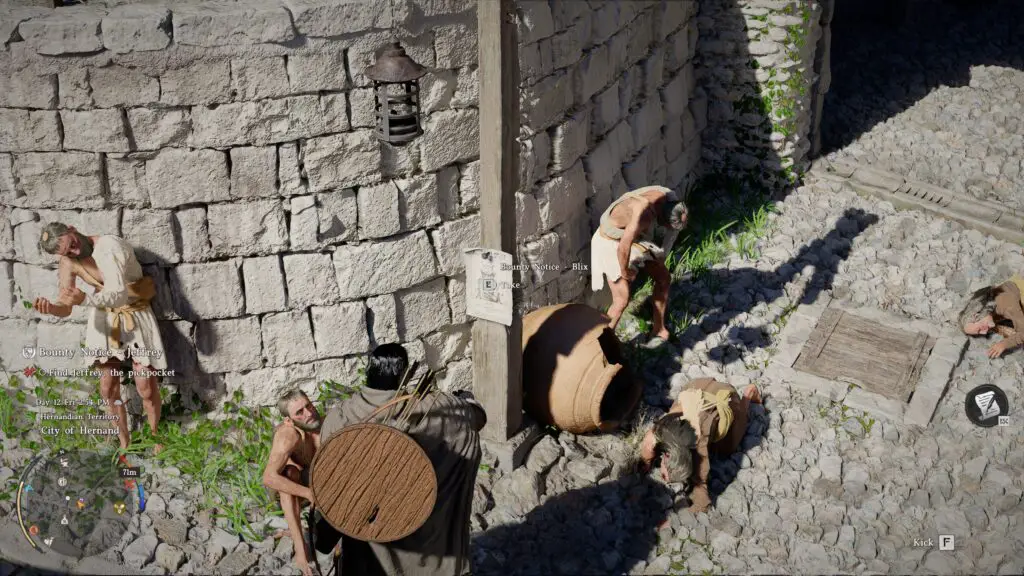
For those just starting out, we recommend heading to the northern section of the city. There, you’ll find a specific quest to apprehend Jeffrey, the game’s introductory bounty. Completing this not only teaches you the fundamental mechanics of restraint but also rewards you with a Mask item—essential if you’re looking to master the art of stealing without immediate repercussions. Each successful delivery yields a gold reward and vital Hernandian Contribution points, which are key to unlocking higher-tier items in the local shops.
Hernand Bounty Locations and Capture Guide
Our research at Digital Tech Explorer has identified nine primary bounties within the Hernand region. While most posters are available immediately in Chapter 2, note that the final elusive target only appears near the Equinsher Saddlery once you progress to Chapter 8.
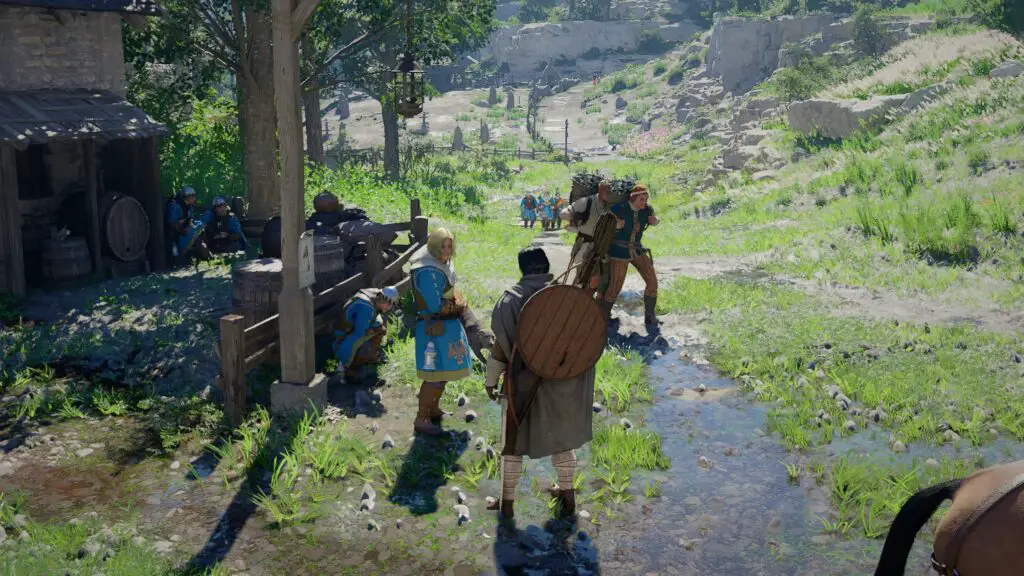
Capturing these targets requires more finesse than a standard skirmish. Follow these steps to ensure a successful handover:
- Engage and Tackle: Close the distance and bring the target to the ground.
- Subdue: A quick series of punches (usually three) will daze the criminal.
- Restrain: Use the prompt to tie them up and hoist them onto your shoulder.
- Transport: Secure them to your mount and ride directly to the jail located in north Hernand City.
To help you prioritize your hunts, we have compiled the bounty details into the table below, organized by their accessibility and reward value.
| Bounty Name | Reward Tier | Primary Location |
|---|---|---|
| Jeffrey | Introductory | Northern Hernand Outskirts |
| The Red Bandit | Standard | Southern Merchant Path |
| Kaelen the Silent | High | Hidden Cave (West of City) |
| Hulking Brute | Standard | Abandoned Farmstead |
| The 9th Outlaw | Elite | Equinsher Saddlery (Chapter 8) |
Mastering the World of Pywel
At Digital Tech Explorer, we believe that understanding these intricate gameplay systems is what separates a novice from a master mercenary. From taming the fastest horses to optimizing your character’s skill set, staying informed is your best strategy for survival. For more in-depth analyses and technical guides on the latest gaming releases, stay tuned to our latest updates.
Explore more Crimson Desert insights from TechTalesLeo:
- Crimson Desert Characters: How to unlock every ally.
- Skill Respec Guide: Swapping your Faded Abyss artifacts.
- The Art of the Steal: How to pilfer loot effectively.
- Pet Mechanics: Finding your furry companions in Pywel.
- Horse Taming: Leveling up your mount skills.
- Fast Travel Systems: Navigating the Abyss Nexus.
Disclaimer: This guide is for informational and entertainment purposes. Digital Tech Explorer focuses on providing researched-based content to enhance your digital experience. Some links may be affiliate links, allowing us to earn a commission at no extra cost to you.